As a part of GIT Tutorials End To End, we will learn about another frequently used and important git command “git push“ in this post.
Git Tutorial 4 – Create A New Git Repository – Git Init Command
Git Tutorial 5 – Know The State Of Working Directory – Git Status
Git Tutorial 6 – Git Add – Add Changes From Working Directory To Staging Directory
Git Tutorial 7 – Git Commit – Save Staging Directory Changes To Local Repository
Did you know that I have started a YouTube channel as well and I need your support to make it successful. Please do watch content then comment, like, share, and obviously subscribe.
We initialized/created a git repo, added and committed some files in previous posts. All these were done in a local repository or more precisely in my personal system. Consider I am working on a project and have all code in my local system. There may be multiple developers in a project and all need to work on the same code base. Contribution by all the developers to the project should be collectively available for all developers of that project. In short, there should be a “place” where a complete codebase can be stored and accessed. This “place” is called a Remote Repository” in GIT which is hosted on the network – internet or intranet. We can easily get the latest code or push the changed code to the remote repository.
The Git Push command is used to push committed local repository changes to the remote repository’s branch. We generally use a remote repository provided by 3rd parties like GitHub, BitBucket, GitLab, etc. It is secure and trusted and used commonly. They provide a lot of functionalities which we will learn in upcoming posts. We can use them without any cost for personal usages.
We will be using BitBucket for this post. We need to signup first. It should be a cakewalk. Just enter the asked details and verify your email id.
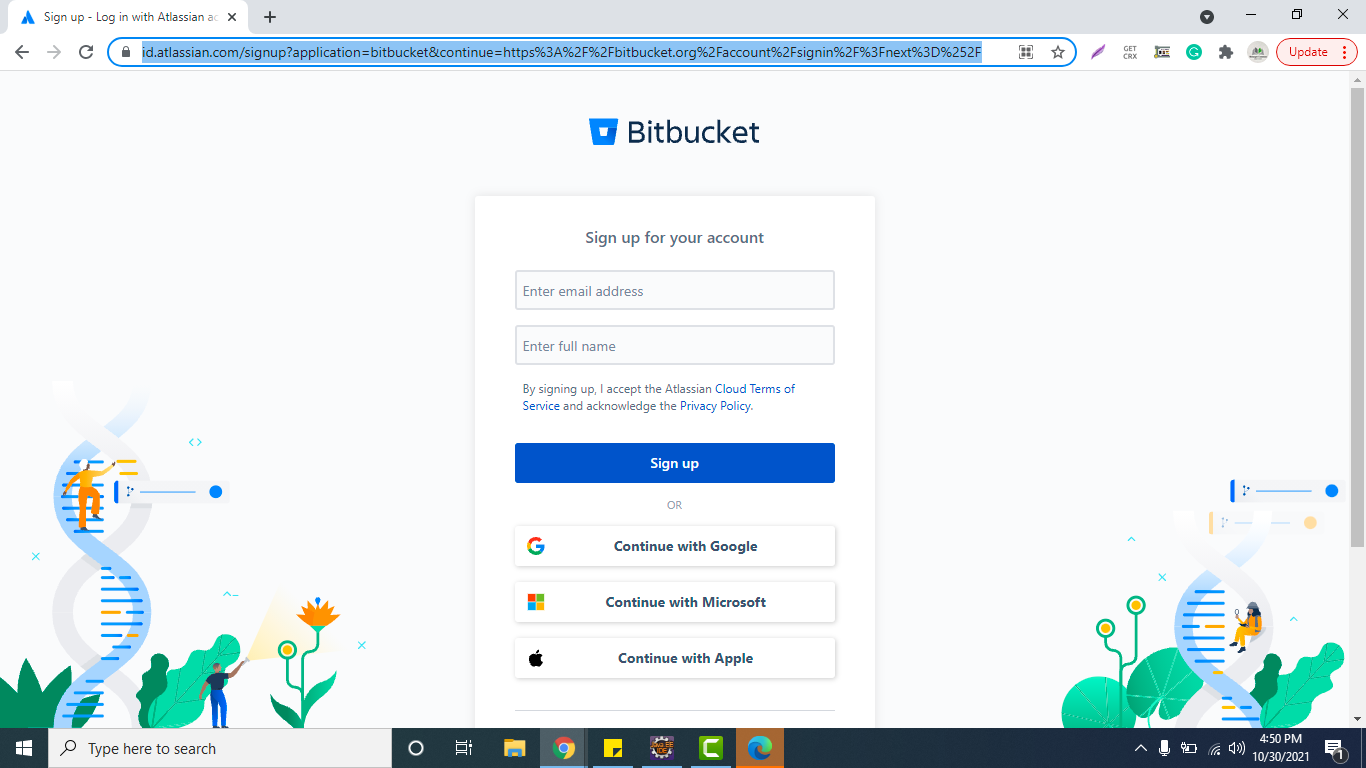
You need to set up a password after verifying your email id followed by setting up a unique username. Remember this username always.
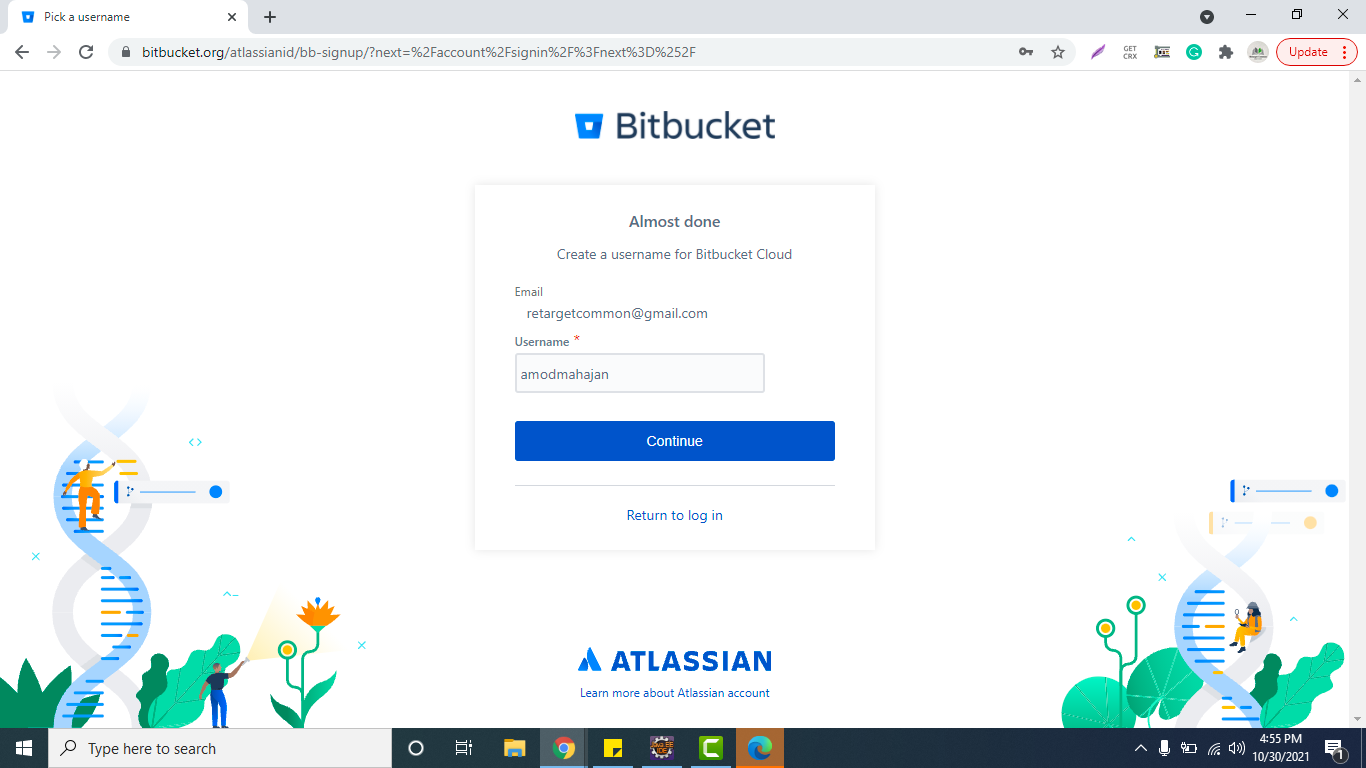
You will see the below page once you are done with signup.
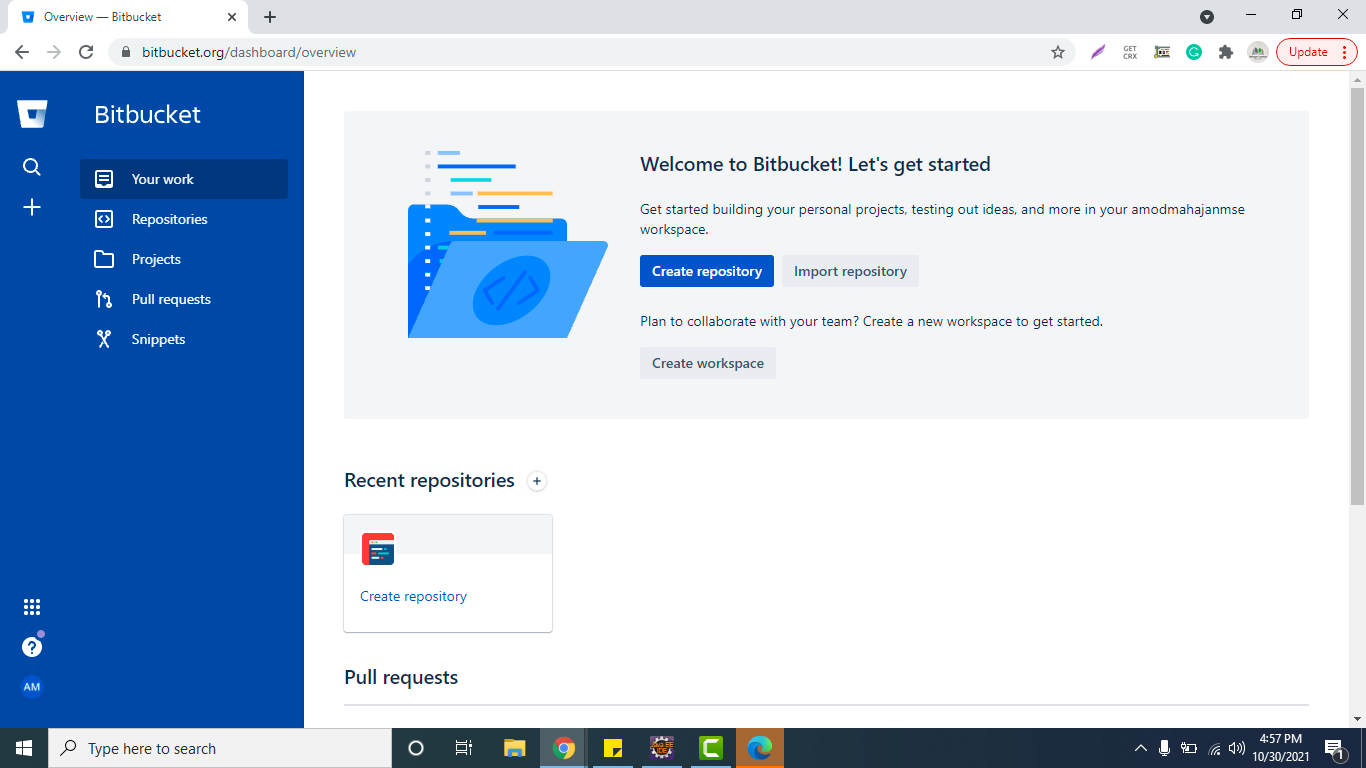
You should see a “Repositories” option on the left-hand side. Click on it and then you should see a “Create repository” option on the top right-hand side. Click on that. Please note these options might change in the future but I am sure that it will not be difficult to find an option to create a repository.


You need to fill in the project and repository name. You can have multiple repositories within a project. As of now, we will uncheck “Private repository” checkbox so that the repository will be public. Select “No” for “Include a README? ” and “Include .gitignore?” and leave “Default branch name” blank.

Click on “Create Repository” button.

For every remote repo, you will get a unique URL as highlighted below. This URL is used to push the local changes to this remote repo.
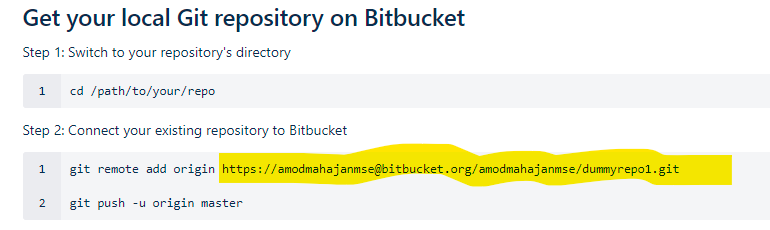
We have received a remote URL for a remote repository. We need to link to add this to our local repository so that we can push changes to remote.
You need to complete all steps explained in this post first. I will use the same GIT local repository in this post.
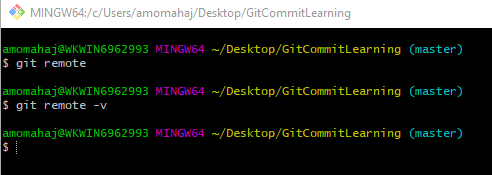
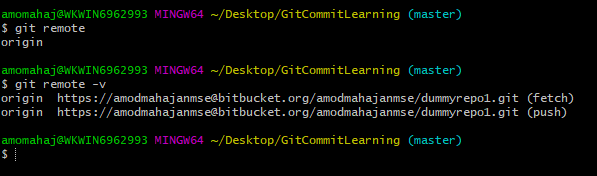
If you want to know if any remote URL is linked to your local repository then you can run the below commands. The command “git remote” lists the remote connections while “git remote -v” lists all the remote connections with URLs.
To create a new connection with a remote repository we need to use the below command-
git remote add
“name” is a name given to a remote URL that you can use as a shortcut for other git commands. You can give any name to it. Here I will use “origin” which is generally used by GIT users.
To push the changes to a particular branch of remote repo we need to use the below command-
git push
A remote repository may have multiple branches and you can push changes to any branch. Just recall that while creating a remote repository in BitBucket we have not passed the “Default branch name“. When we do not pass a branch then the name “master” will be given by default. You can run “git branch” command to see all branches.

Now you can run the Git push command as shown below. It will ask for your bitbucket password in a new window for the first time.
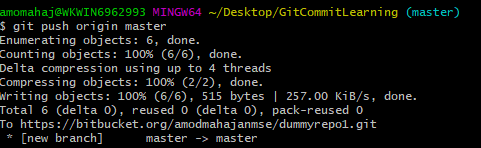
Now you can see you have successfully pushed your local changes to the remote repository. You can now go to Bitbucket and verify. All your files in your local repo will be found on the remote repo.

Please subscribe to my YouTube channel Retarget Common to learn from my video tutorials.
Below are important end to end tutorials for Testers:-
Selenium Tutorials
Rest Assured Tutorials
Postman Tutorials
TestNG Tutorials
If you have any doubt, feel free to comment below.If you like my posts, please like, comment, share and subscribe.#ThanksForReading
#HappyLearning