We are going to learn to install GIT software on Windows step by step in this post. But if you are not aware of what is GIT and why we should use it then I will recommend going through the below posts-
Git Tutorial 1 – What Is Version Control System?
Git Tutorial 2 – What Is GIT And Its Advantages?
Did you know that I have started a YouTube channel as well and I need your support to make it successful. Please do watch content then comment, like, share, and obviously subscribe.
GIT can be installed on Windows, Linux/Unix, and macOS.
- Navigate to the download page of GIT. (https://git-scm.com/download). On this page, you will find the latest version of GIT and the download link for Windows. It automatically shows the download link based on the operating system of your PC.

2. Click on the “Download for windows” link. You will see download is happening. It will download a file named Git-2.32.0.2-64-bit. Please note download file has the current GIT version.
Note – If you do not want to perform Steps 1 and 2 above then directly open URL https://git-scm.com/download/win. Downloading will start as soon as you hit this URL in the browser.
We have already downloaded GIT in the above section. Now it is time to install that. Installing GIT is like any normal software on Windows. It has a lot of configuration steps and we should at least read them so that in future we can see usage.
- Double click on the downloaded executable file of GIT. It may show a popup for permission to make changes which you should allow.
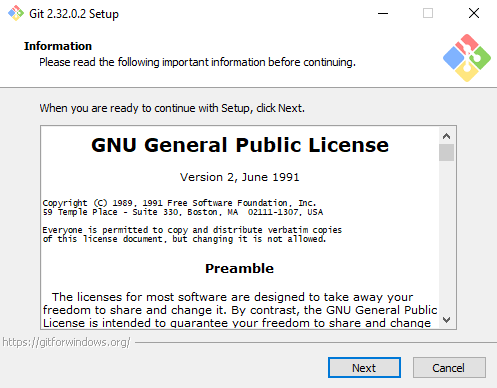
- It will show an information page containing terms and conditions. If you are interested to read all those paragraphs then do that and click on Next otherwise you can directly click on the Next button.
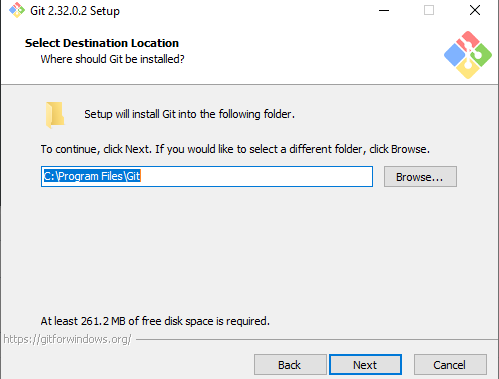
3. Select the destination location where GIT will be installed. You can continue with the default location as shown below or you can change it. Click on Next.
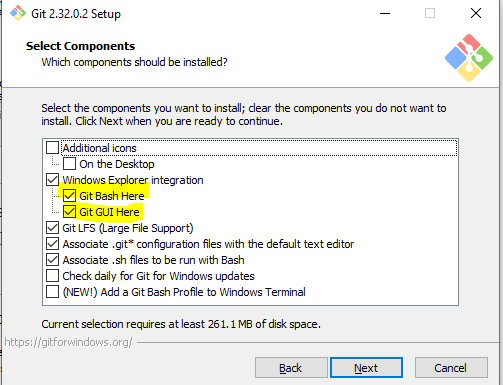
4. In this step you need to select components to be installed. I will recommend going with the default selection. GIT Bash and GIT GUI are major components that are default selected. You can also check Additional icons on the Desktop. Click on Next.
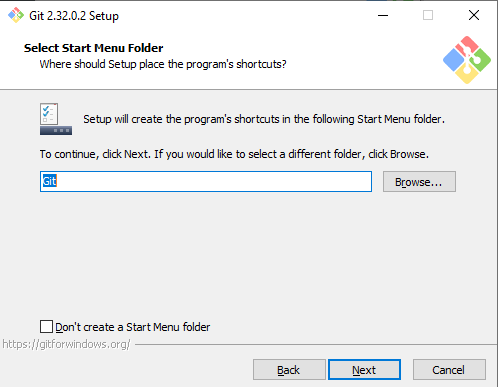
5. Select if you would like to GIT shortcut in the start menu. Go with default selection and click on Next.
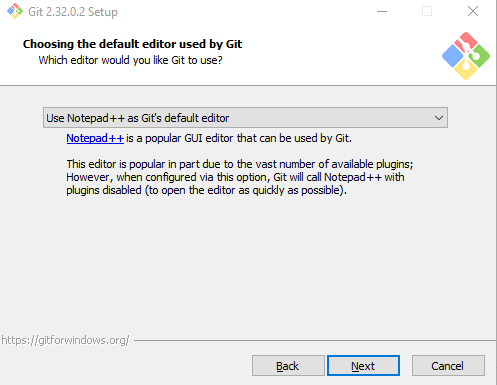
6. Select the default editor of GIT. I use Notepad++ as the default editor used by GIT. You can select any option in the dropdown. There are many options available.
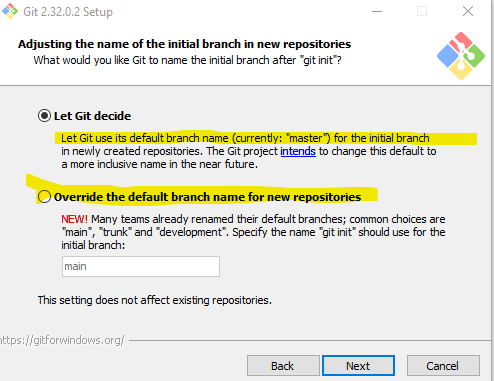
7. Now this is a new feature of GIT. If you are little aware of GIT then you may know the default branch name used by GIT is master. This can be customized now. As of now, you can go with the default branch name and click on Next.
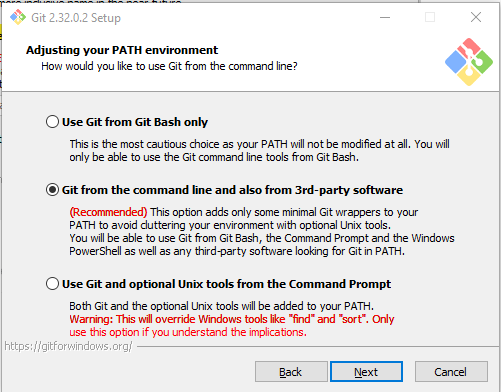
8. Now you need to set up how you would like to use GIT from the command line. Use the recommended option as there will be no need to set up any environment path. Click on Next.
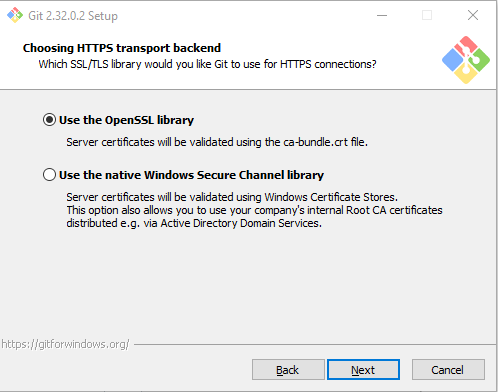
9. Select SSL/TLS library used by GIT to use for the HTTPS connection. Go with default selection and click on Next.
10. Configure how GIT should treat line endings in text files. You will not understand this as of now so click on Next with default selection.

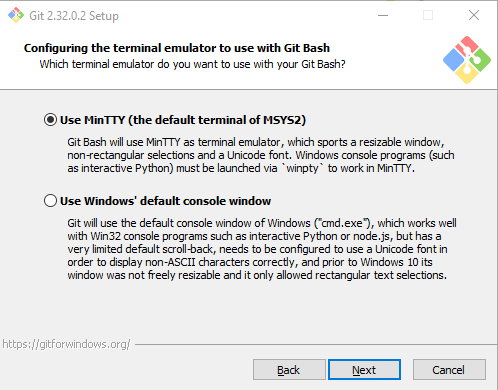
11. Configure the terminal emulator to use with GIT bash. As we have already selected to install GIT Bash as well. Click on Next with default selection.
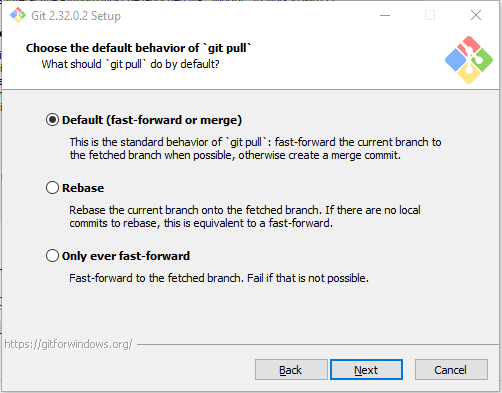
12. Configure the default behavior of the git pull command. As of now, we do not what is git pull, fast forward, rebase and merge. So better to continue with the default selection and click on Next.
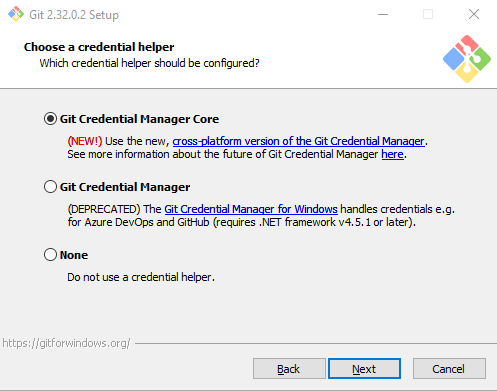
13. Choose a credential helper. It has a new option now called Git Credential Manager Core. It is a cross-platform version. Go with default selection and click on Next.
14. Enable file system caching to boost performance which is default selected. Click on Next.

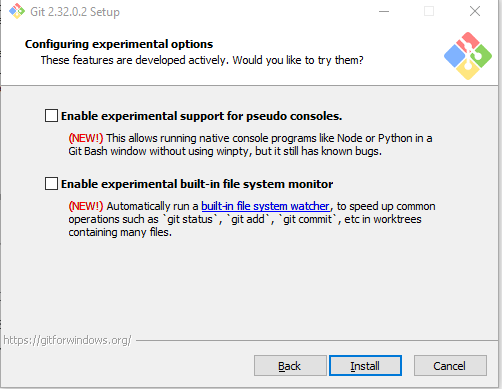
15. Configure experimental options. These two features are new and optional. I will suggest you check “Enable experimental built-in file system monitor“. Usage we will see later. This will be the last screen of setup and now click on Install.
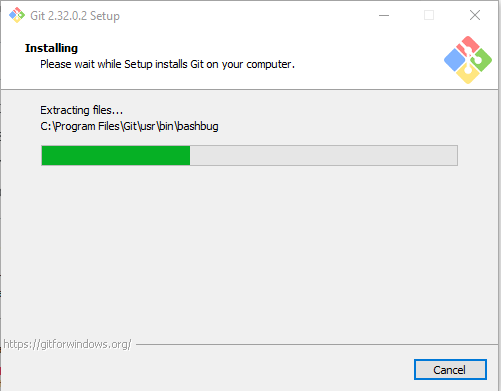
16. Installtion will start and should take less than 1 minute.
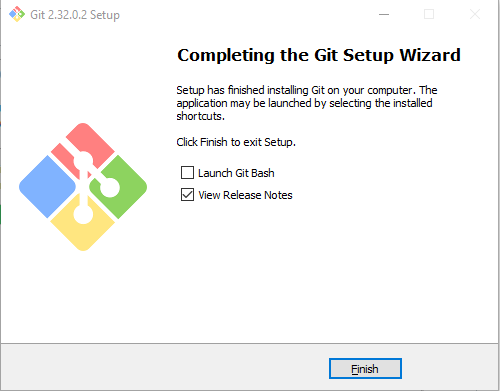
17. You will get below screen after successful installation of GIT. Check “Launch Git Bash” and Click on Finish.
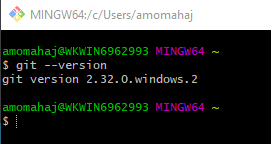
As we have checked to launch GIT bash you will see a window as below:-

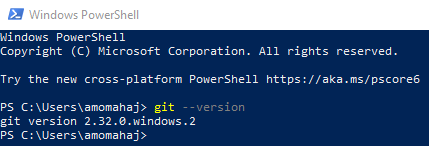
“git –version” will give you installed version info of GIT on your system.
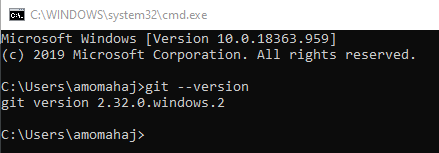
You can also use the Windows default command prompt and there is no need to set GIT path explicitly as that is done during installation.
You can also use Windows PowerShell as well.
You can subscribe to my YouTube channel RetargetCommon to learn from video tutorials.
If you have any doubt, feel free to comment below.If you like my posts, please like, comment, share and subscribe.#ThanksForReading
#HappyLearning