As a part of GIT Tutorials End To End, we will learn about the Git branch command in this post.
I will expect that you are aware of the basic concepts and commands of GIT. But if you are a beginner in GIT then I strongly recommend you to refer GIT Basic Commands and Concepts section on my blog first.
Did you know that I have started a YouTube channel as well and I need your support to make it successful. Please do watch content then comment, like, share, and obviously subscribe.
In the previous post, I tried to explain why we need a branch in Git.
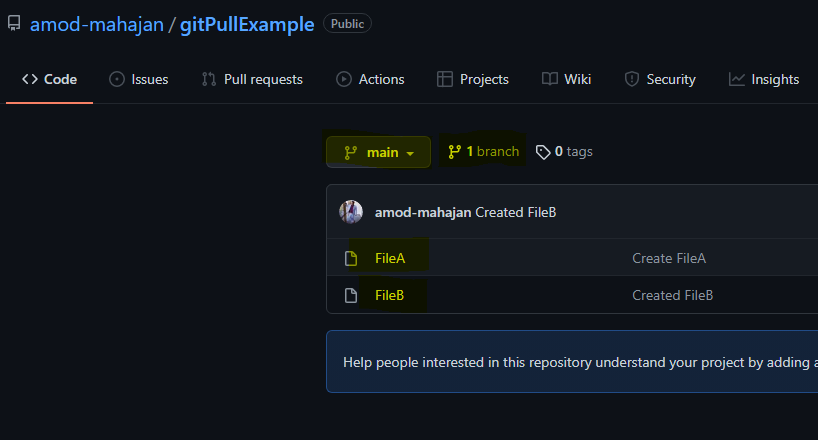
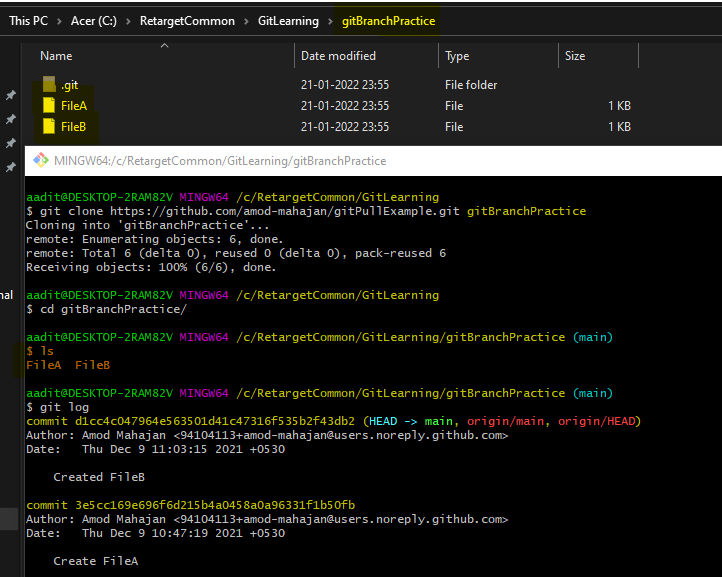
Let’s clone one of my public repo to practice and learn easily. The same repo I have used in my previous posts. In this repo, I have only the default branch “main” and two commits.
To create a branch we just need to use “git branch “. I will create a new branch with the name “gitBranchPractice” below.

You should notice here that when we create a new branch you remain in the current branch i.e. main only. If you want to work on a newly created branch then you should use “git checkout ” command to jump to a new branch.
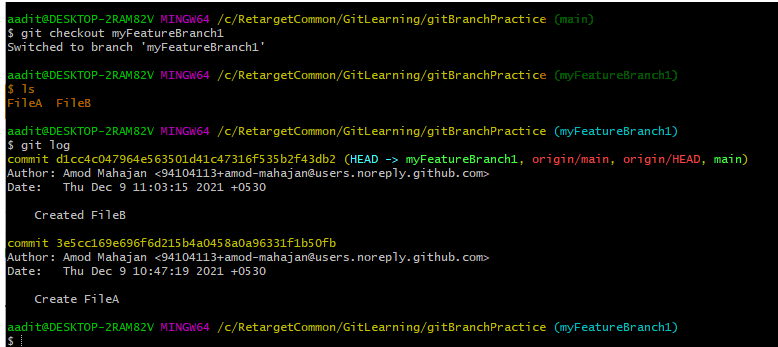
You should also notice that we have the same files and commit logs for the new branch “myFeatureBranch1” as the “main” branch. It is because we created a new branch from the currently checked out branch i.e. “main” branch. In fact, a new branch is created from the current HEAD. We will learn about HEAD later.
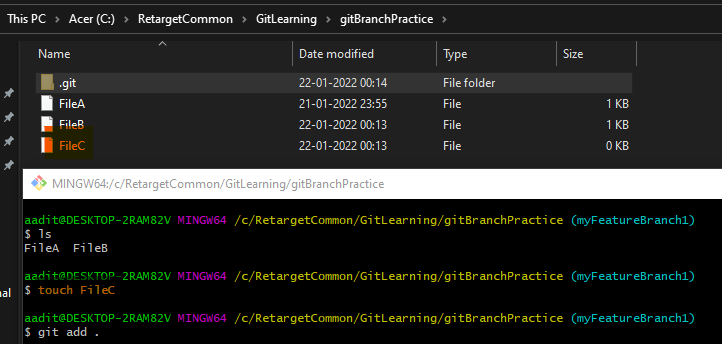
As we have created and switched to a new branch, let’s add a new file and commit as shown below:-

Now let’s switch to the main branch and see if “FileC” is added to the main branch.
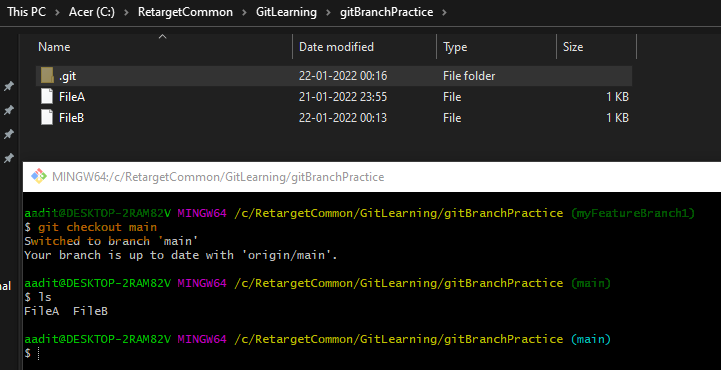
As soon as you switch to the “main” branch you will see folder contents will be changed and there will be no “FileC“. This is the beauty of the branching system in Git. The changes made in one branch will not impact other branches directly. This is the reason in real-time for every feature development generally a new branch from the main (any branch where combined code is kept) branch and merged later after review.
This is an interview question. Above we saw that we first created a branch then switched to it. In fact, we can create and switch to a new branch using a single command i.e. git checkout -b

As we know now by default a new branch is created from the current HEAD but we can directly create a new branch from another branch. We need to use “git branch ” command.

The listing branch is simple in Git. Just run “git branch” command and it will list all available local branches.

You can see an asterisk for the last branch name. That represents the current checkout branch.
When we create a new branch using the above commands then those branches are local to you. These branches will not be available for others and remote repositories till we push it. I still will have only the “main” branch.
To list all remote branches we should use “git branch -r” command.

To list all local and remote branches we should use “git branch -a” command.

If you have any doubt, feel free to comment below.
If you like my posts, please like, comment, share and subscribe to my YouTube channel.
#ThanksForReading
#HappyLearning